What Is a Roof Valley and Why Does It Matter?
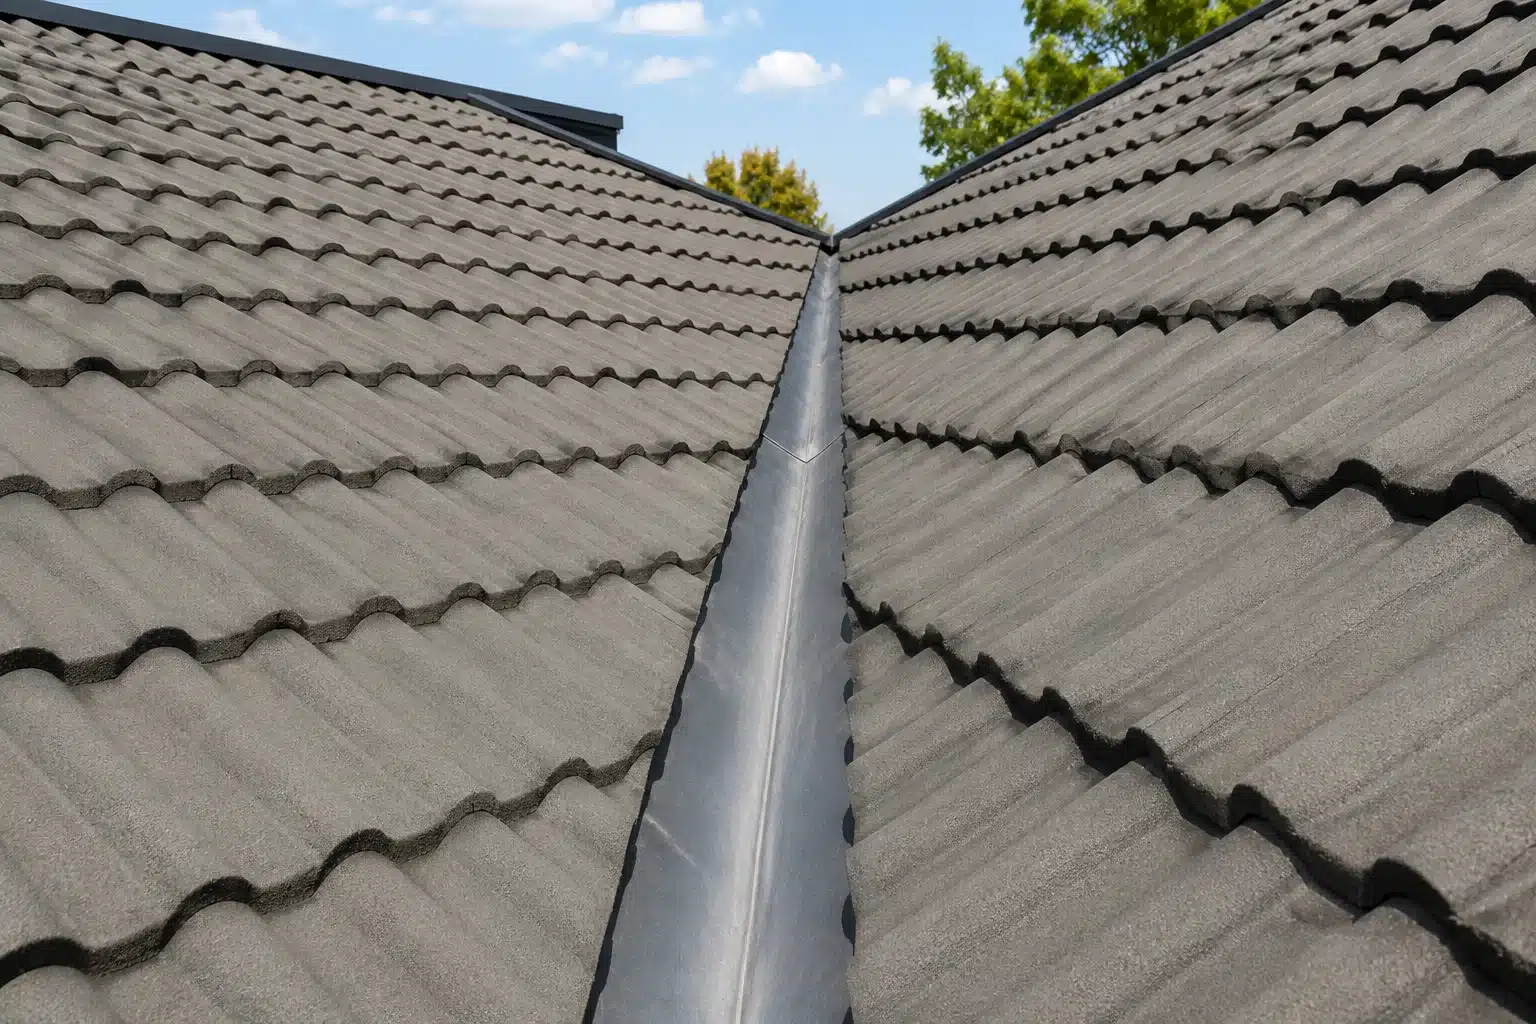
A roof valley is the internal angle where two sloping roof planes meet. Every time your roof has an L-shape, a T-shape, or any change in direction, there is a valley at the junction.
Valleys are critical because they collect water from two roof planes simultaneously and funnel it into a single narrow channel. During heavy Melbourne rain, the volume of water flowing through a valley is significantly greater than the water on any individual roof plane. This concentrated flow creates higher velocity, greater erosion potential, and more debris accumulation than any other part of the roof.
Melbourne homes, particularly in the northern suburbs, commonly have valleys made from galvanised steel, zincalume, or Colorbond. Older homes (pre-1990s) typically have galvanised steel valleys that were expected to last 25 to 35 years. Many of these original valleys are now well past their design life and showing significant deterioration.
The Four Most Common Roof Valley Problems
Each valley problem has different causes, different warning signs, and different solutions.
| Problem | What Causes It | Warning Signs | Fix |
|---|---|---|---|
| Corrosion (rust) | Age, moisture exposure, leaf tannin acids, salt air | Rust stains visible on the roof or running down walls, brown discolouration in the valley channel, visible pinholes or perforation | Valley replacement with new Colorbond or zincalume |
| Debris blockage | Leaf fall from overhanging trees, dirt and moss buildup, tile fragment accumulation | Overflowing gutters at the valley discharge point, water stains on the ceiling near valley locations, visible debris pile in the valley channel | Professional roof cleaning and gutter cleaning |
| Incorrect installation | Valley too narrow for the roof pitch and catchment area, inadequate tile overlap, poor lapping at joins, no valley flashing under tiles | Leaks during moderate rain (not just heavy), water entering at the valley edges rather than flowing down the centre | Valley replacement with correctly sized and installed profile |
| Physical damage | Foot traffic (walking in the valley channel), fallen branches, hail impact, tile fragments dropped into the valley | Dents, creases, punctures, or bent sections visible in the valley metal | Repair if localised, replacement if widespread |
“Valleys are the hardest-working part of any roof. They handle more water volume than any other component, and they collect every leaf, twig, and piece of debris that washes down from the roof planes above. When a valley fails, the leak is usually significant because the volume of water it was channelling is now going directly into the roof cavity.”
How Valley Corrosion Progresses
Valley corrosion does not happen overnight. It follows a predictable progression that, once understood, makes early detection straightforward.
Stage 1: Surface oxidation. The protective galvanised coating on the valley iron begins to wear away. The surface develops a dull, grey appearance and loses its original shine. At this stage, the valley is still functional but the protective layer is thinning.
Stage 2: Active rusting. With the galvanised coating compromised, the steel underneath begins to rust. Visible rust patches appear in the valley channel, particularly where water concentrates (the centre line and the lower end near the gutter). Rust stains may be visible running down the tiles below the valley or on the fascia and gutters.
Stage 3: Pitting. The rust penetrates deeper into the metal, creating small pits and thin spots. The valley is structurally weakened in these areas but may not yet be leaking because the pits have not fully perforated the metal.
Stage 4: Perforation. The rust pits break through the metal entirely, creating pinholes that allow water through. Initially, leaks may only occur during heavy rain when the water volume in the valley is highest. As the perforations enlarge, leaks become more frequent and more severe.
Stage 5: Structural failure. The corroded metal becomes so thin that it can no longer hold its shape. Sections may collapse, tear, or fold under the weight of water flow, causing catastrophic leaking.
The critical point for action is Stage 2 to Stage 3. Once you can see rust in the valley channel, the clock is ticking toward perforation. Replacing the valley at this stage is straightforward and relatively inexpensive. Waiting until Stage 4 or 5 often means the water has already caused significant damage to the sarking, timber battens, rafters, and insulation underneath, adding to the repair cost substantially.
For a broader understanding of how leaks affect the structure, read how roof leaks affect your home.
Valley Blockage: The Problem You Cannot See from the Ground
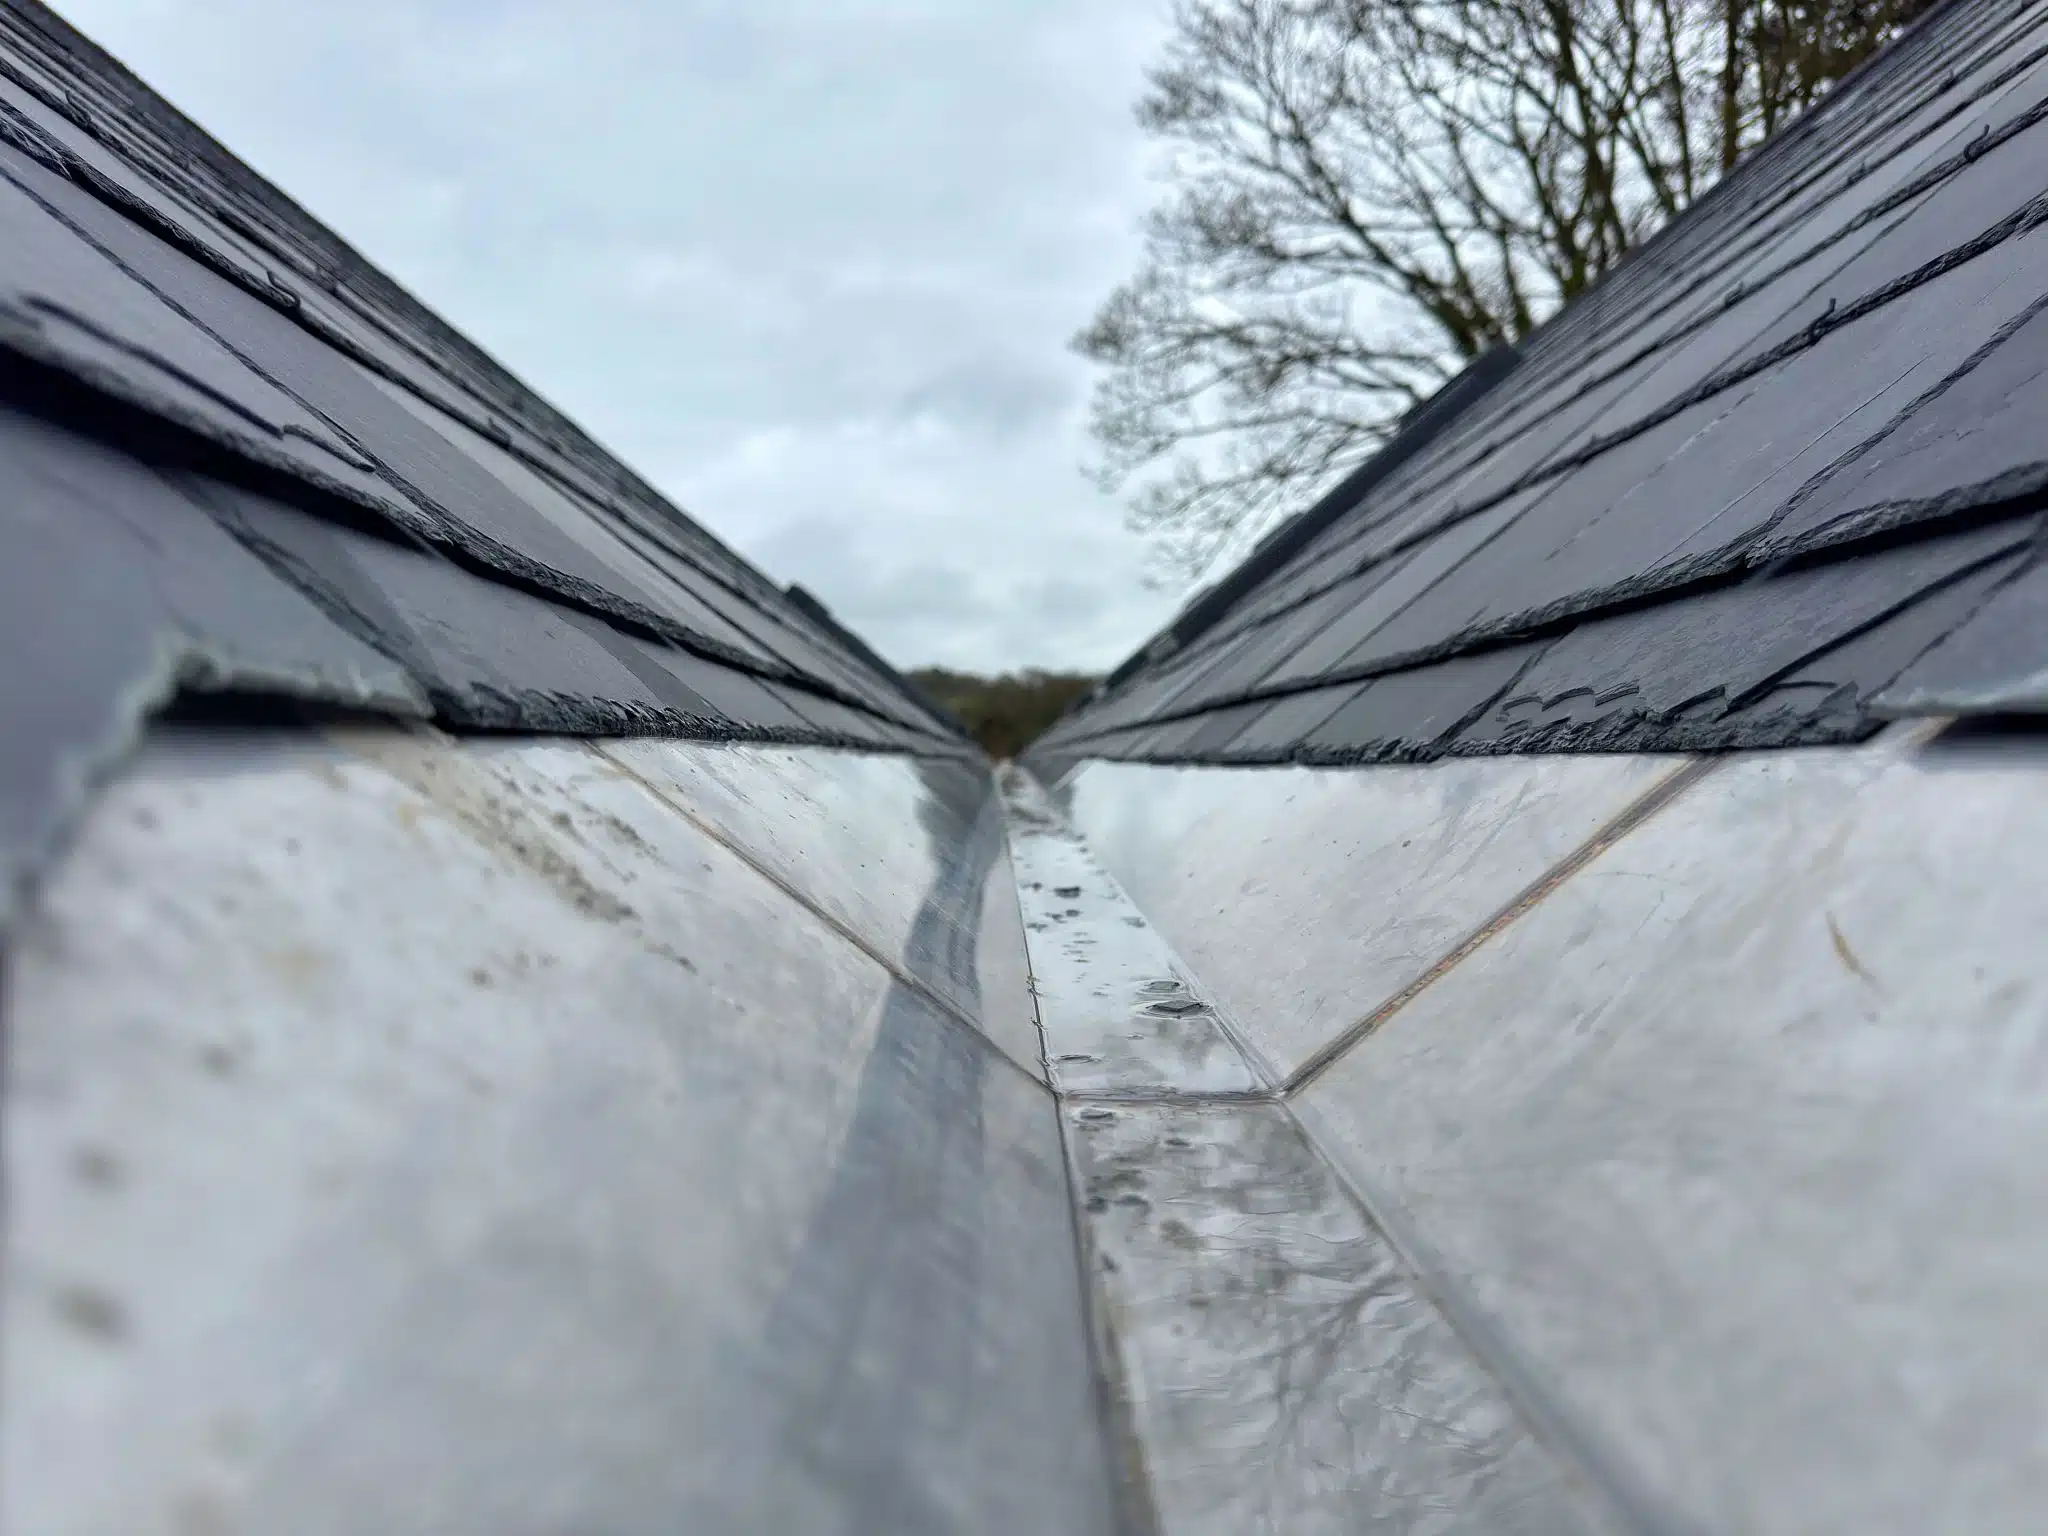
Valley blockage is particularly common in Melbourne’s northern suburbs where mature tree canopy drops leaves, bark, seed pods, and twigs onto roofs for months each year. Suburbs like Reservoir, Bundoora, Greensborough, and Epping all have significant tree coverage that contributes to valley blockage.
When debris accumulates in a valley channel, it creates a dam. During rain, water backs up behind the dam and, with nowhere to go, is forced sideways underneath the tiles on either side of the valley. The water enters the roof cavity at the tile edge rather than flowing down the valley to the gutter.
What makes this problem difficult to detect is that the valley itself may be in perfect condition. There is no corrosion, no damage, and no installation fault. The metal is fine. The problem is the organic dam sitting on top of it.
Regular roof and gutter cleaning prevents this problem entirely. For homes surrounded by trees, scheduling a roof clean every 12 to 18 months keeps valleys clear and functional. Installing gutter guards at the valley discharge point into the gutter reduces downstream blockage as well.
How to Check Your Valleys
You can check for some valley problems from the ground without climbing onto the roof.
From the ground (exterior): Look for rust stains running down the tiles below a valley. Brown or orange discolouration on tiles, fascia, or gutters near valley discharge points indicates corrosion above. Visible debris accumulation in the valley channel (sometimes visible on lower-pitched roofs or from an elevated position) indicates blockage.
From inside the roof cavity: Access the roof cavity through the manhole and use a torch to look at the underside of the valley from below. Water stains, wet timber, damp insulation, and visible daylight through pinholes in the valley metal all indicate valley failure. Water trails along rafters and battens near the valley location confirm that the valley is the source of the leak.
From the ceiling: Water stains on the ceiling located near where you know a valley sits on the roof above are a strong indicator. The stain may not be directly below the valley because water travels along the underside of roof framing before dripping through, but proximity is a reliable clue. The how to find a roof leak guide covers the tracing process in detail.
If you suspect a valley problem but cannot confirm it from the ground or inside, a professional roof inspection examines every valley up close and reports on their condition, remaining lifespan, and any action needed.
Valley Replacement: What the Process Involves
When a valley needs replacing, the process follows a specific sequence to ensure the new valley is installed correctly and integrates properly with the surrounding tiles and flashing.
Step one: Tile removal. The tiles on both sides of the valley are carefully lifted and stacked to expose the full length of the valley iron. This requires working from the bottom of the valley upward to prevent tiles from sliding.
Step two: Old valley removal. The corroded or damaged valley iron is removed. The sarking and timber battens underneath are inspected for water damage. Any damaged sarking is patched or replaced, and any timber showing signs of decay is addressed.
Step three: New valley installation. A new valley iron (typically Colorbond or zincalume, selected to match the roof or in a neutral colour) is positioned and secured. The new valley must be correctly sized for the roof pitch and catchment area, properly lapped at any joins, and adequately extend under the tiles on both sides to prevent edge leaks.
Step four: Tile reinstatement. The tiles are repositioned over the new valley, ensuring correct overlap and alignment. Tiles that were cracked during removal are replaced with matching tiles.
Step five: Final check. The completed valley is checked for correct fall (water flows to the gutter without pooling), adequate tile overlap on both sides, and proper lapping at any valley joins. The work is also inspected from inside the roof cavity to confirm no daylight is visible at the valley edges.
Valley replacement is frequently done alongside other restoration work, particularly repointing and rebedding, tile repairs, and roof painting as part of a complete roof restoration. Bundling this work saves on labour because the tiles are already being accessed.
For pricing guidance, the roof restoration cost Melbourne guide covers valley replacement as part of broader restoration budgets.
Preventing Valley Problems
These practices extend valley life and reduce the risk of leaks.
Keep valleys clear of debris. Schedule regular roof cleaning that includes valley flushing. Clear any visible buildup after heavy leaf fall or storms.
Trim overhanging trees. Reducing the volume of leaves and debris reaching the roof directly reduces valley blockage. It also improves airflow across the roof, which helps valleys dry faster after rain and slows moss and lichen growth.
Monitor for early rust signs. Check valleys visually from the ground every six months. Rust stains on tiles or gutters below the valley are the earliest visible warning sign. Acting at this stage prevents perforation.
Schedule professional inspections. A regular roof inspection catches valley deterioration at Stage 2 or 3 (surface rust to pitting) before it progresses to perforation and leaking. The roof maintenance checklist covers everything that should be checked annually.
Include valleys in restoration scope. If you are having your roof restored, include valley replacement in the project scope even if the valleys “look okay.” Valleys on the same-age roof as tiles that need restoring are the same age themselves. Restoring the tiles and leaving corroding valleys in place means you will be paying for tile removal and reinstatement again in a few years when the valleys inevitably fail.